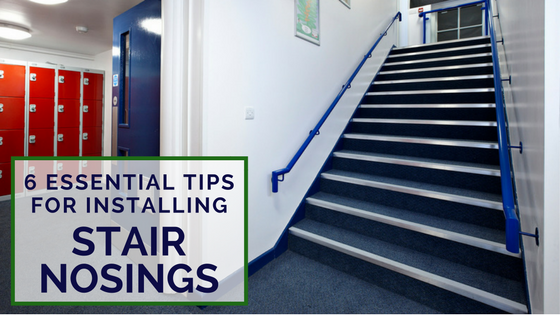
No matter what type or brand of stair nosing you have chosen for your project, you will want to make sure that you get off to a good start with proper installation techniques. In this article, I will share some key tips and instructions that we have acquired over the years that are designed to help your installation process.
First, Prepare the Surface
Before you begin installing your stair nosing profiles, make sure that the step is smooth, sturdy, and clean. There shouldn’t be any dust or other contaminants on the step that might prevent you from securing the stair nosing correctly.
If you’ve had to use any leveling compound or repair mortar, check the manufacturer’s instructions to ensure that the compound or mortar has cured properly and will provide a strong surface for your installation.
Install the Riser Material Before Stair Nosing Installation
In most cases, you should install the riser material prior to fitting the stair nosing to the step. The riser material should be cut flush or slightly short of the tread area.
In some instances you will want to cut the riser material a little shorter of the riser, so that you have a good fit for the shape of stair nosing that you’re using.
Cut Stair Nosing to Size
If you didn’t pre-order your stair nosing to the exact size that you need, you will want to do that at this point.
Measure your step carefully. Check and re-check your measurement before cutting your stair nosing. Whether you’re fitting nosing to a radius staircase for one that is straight, even a small amount off on your measurement can ruin the look of the step.
Fit the stair nosing as closely to the exact length of the step as possible.
Screw and Glue to Secure
Depending on the stair nosing that you’re using, there are different installation recommendations. Unless the manufacturer specifically says to not use screws or you’re using a special adhesive recommended by the manufacturer, I would recommend both screwing and gluing the profile to the step.
Remember, you’re installing a product that will both protect the stair surface and help prevent people from slipping on the step. You want to make sure that the stair nosing is a secure as possible.
Allow Adequate Curing Time
Although curing time for adhesives varies depending on the manufacturer, a good rule of thumb is to allow 1 hour after securing the stair nosing to an absorbent surface and 2 hours after securing to a non-absorbent surface.
Always check the specific recommendations on the adhesive that you have chosen to use.
Clean up is Important!
After you have secured the stair nosing to the step, go back and remove any excess adhesive while it’s still wet. This will be a lot easier than trying to get it off after it has dried.
It’s a good idea to have a suitable wipe or cleaner on hand when you begin the project, so that you’re not looking for something to use for clean up at the last minute.
Once you’ve completed these steps, your stair nosings will be installed safely and properly. If you’d like to learn more about stair nosings, check out the articles below:


